How to use the YESLA app
Follow these simple steps to start charging your vehicle using the YESLA app.
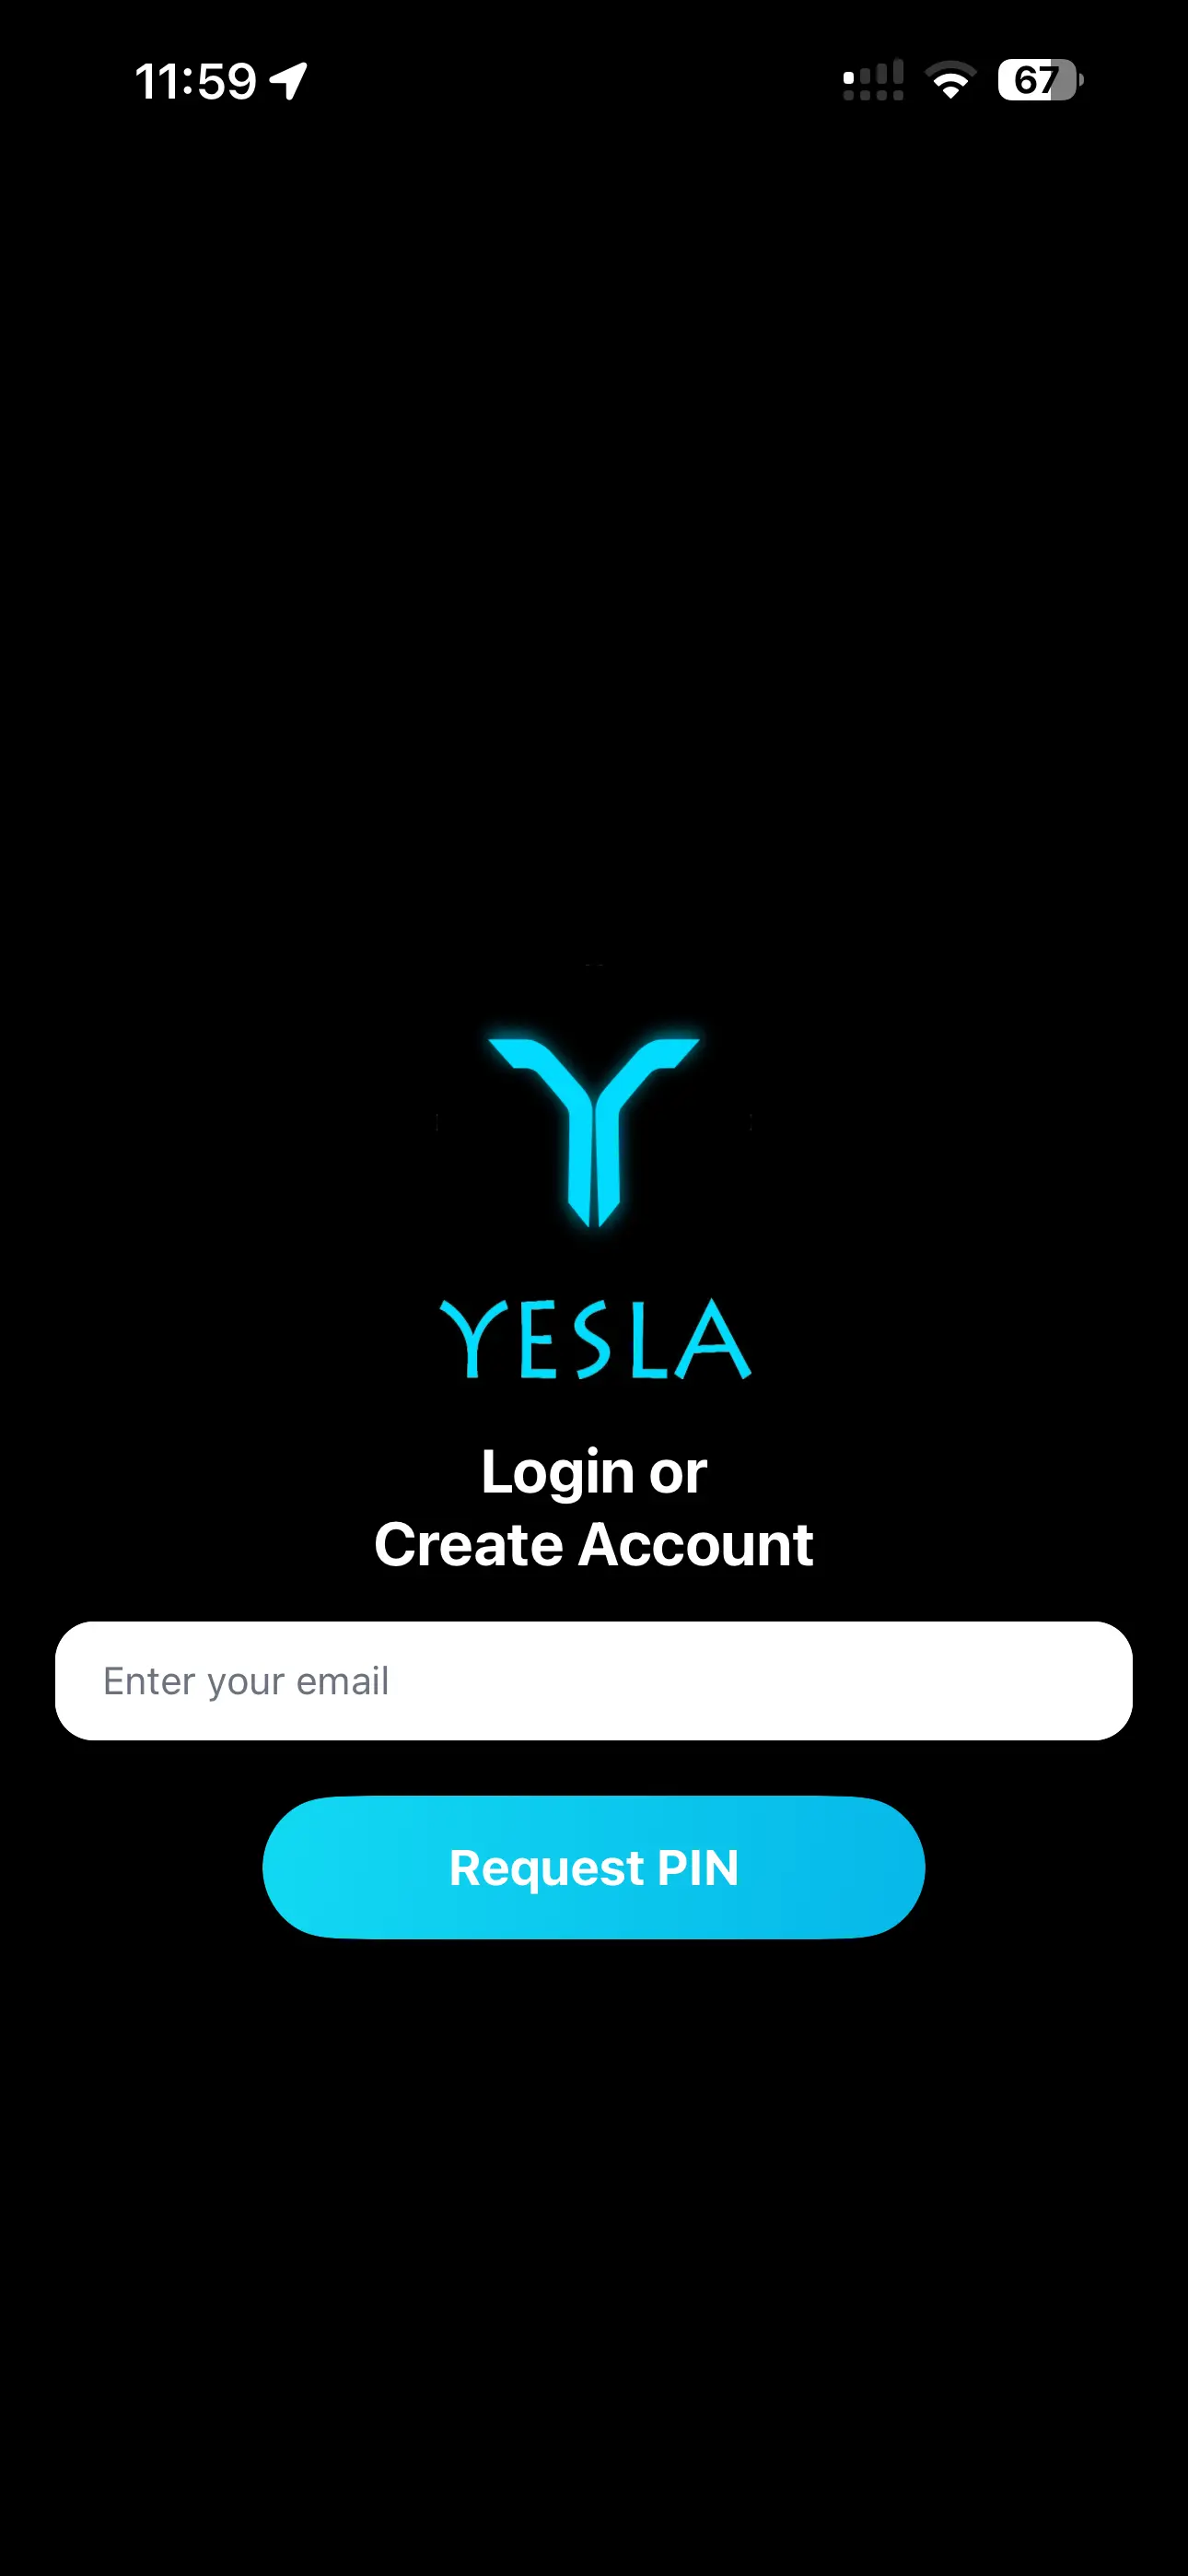
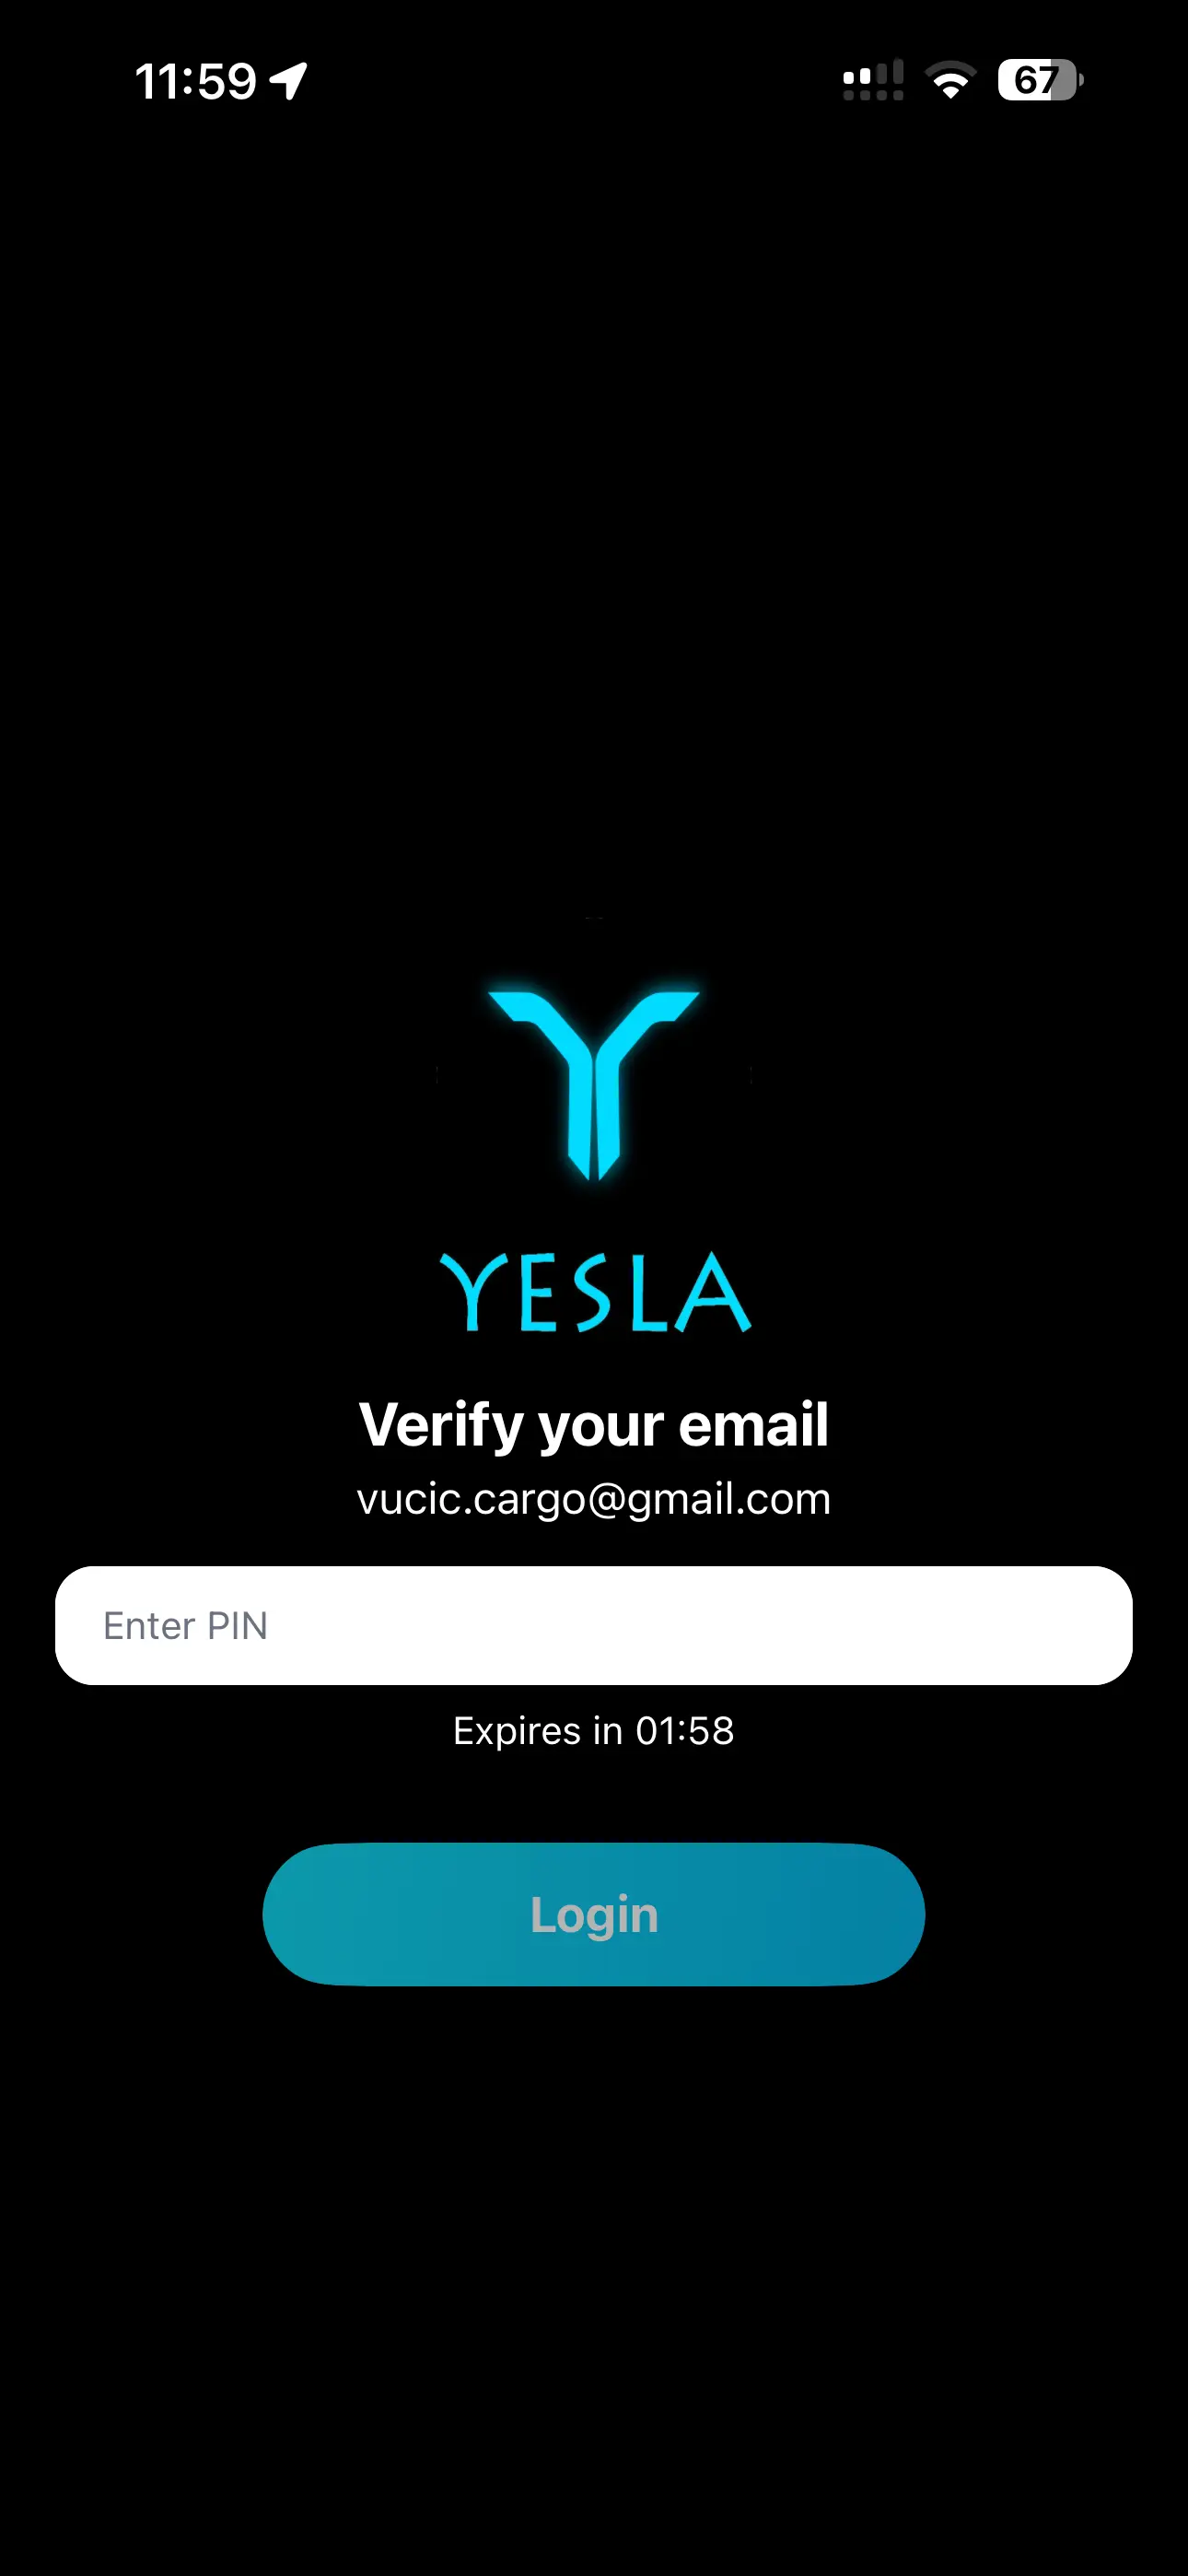
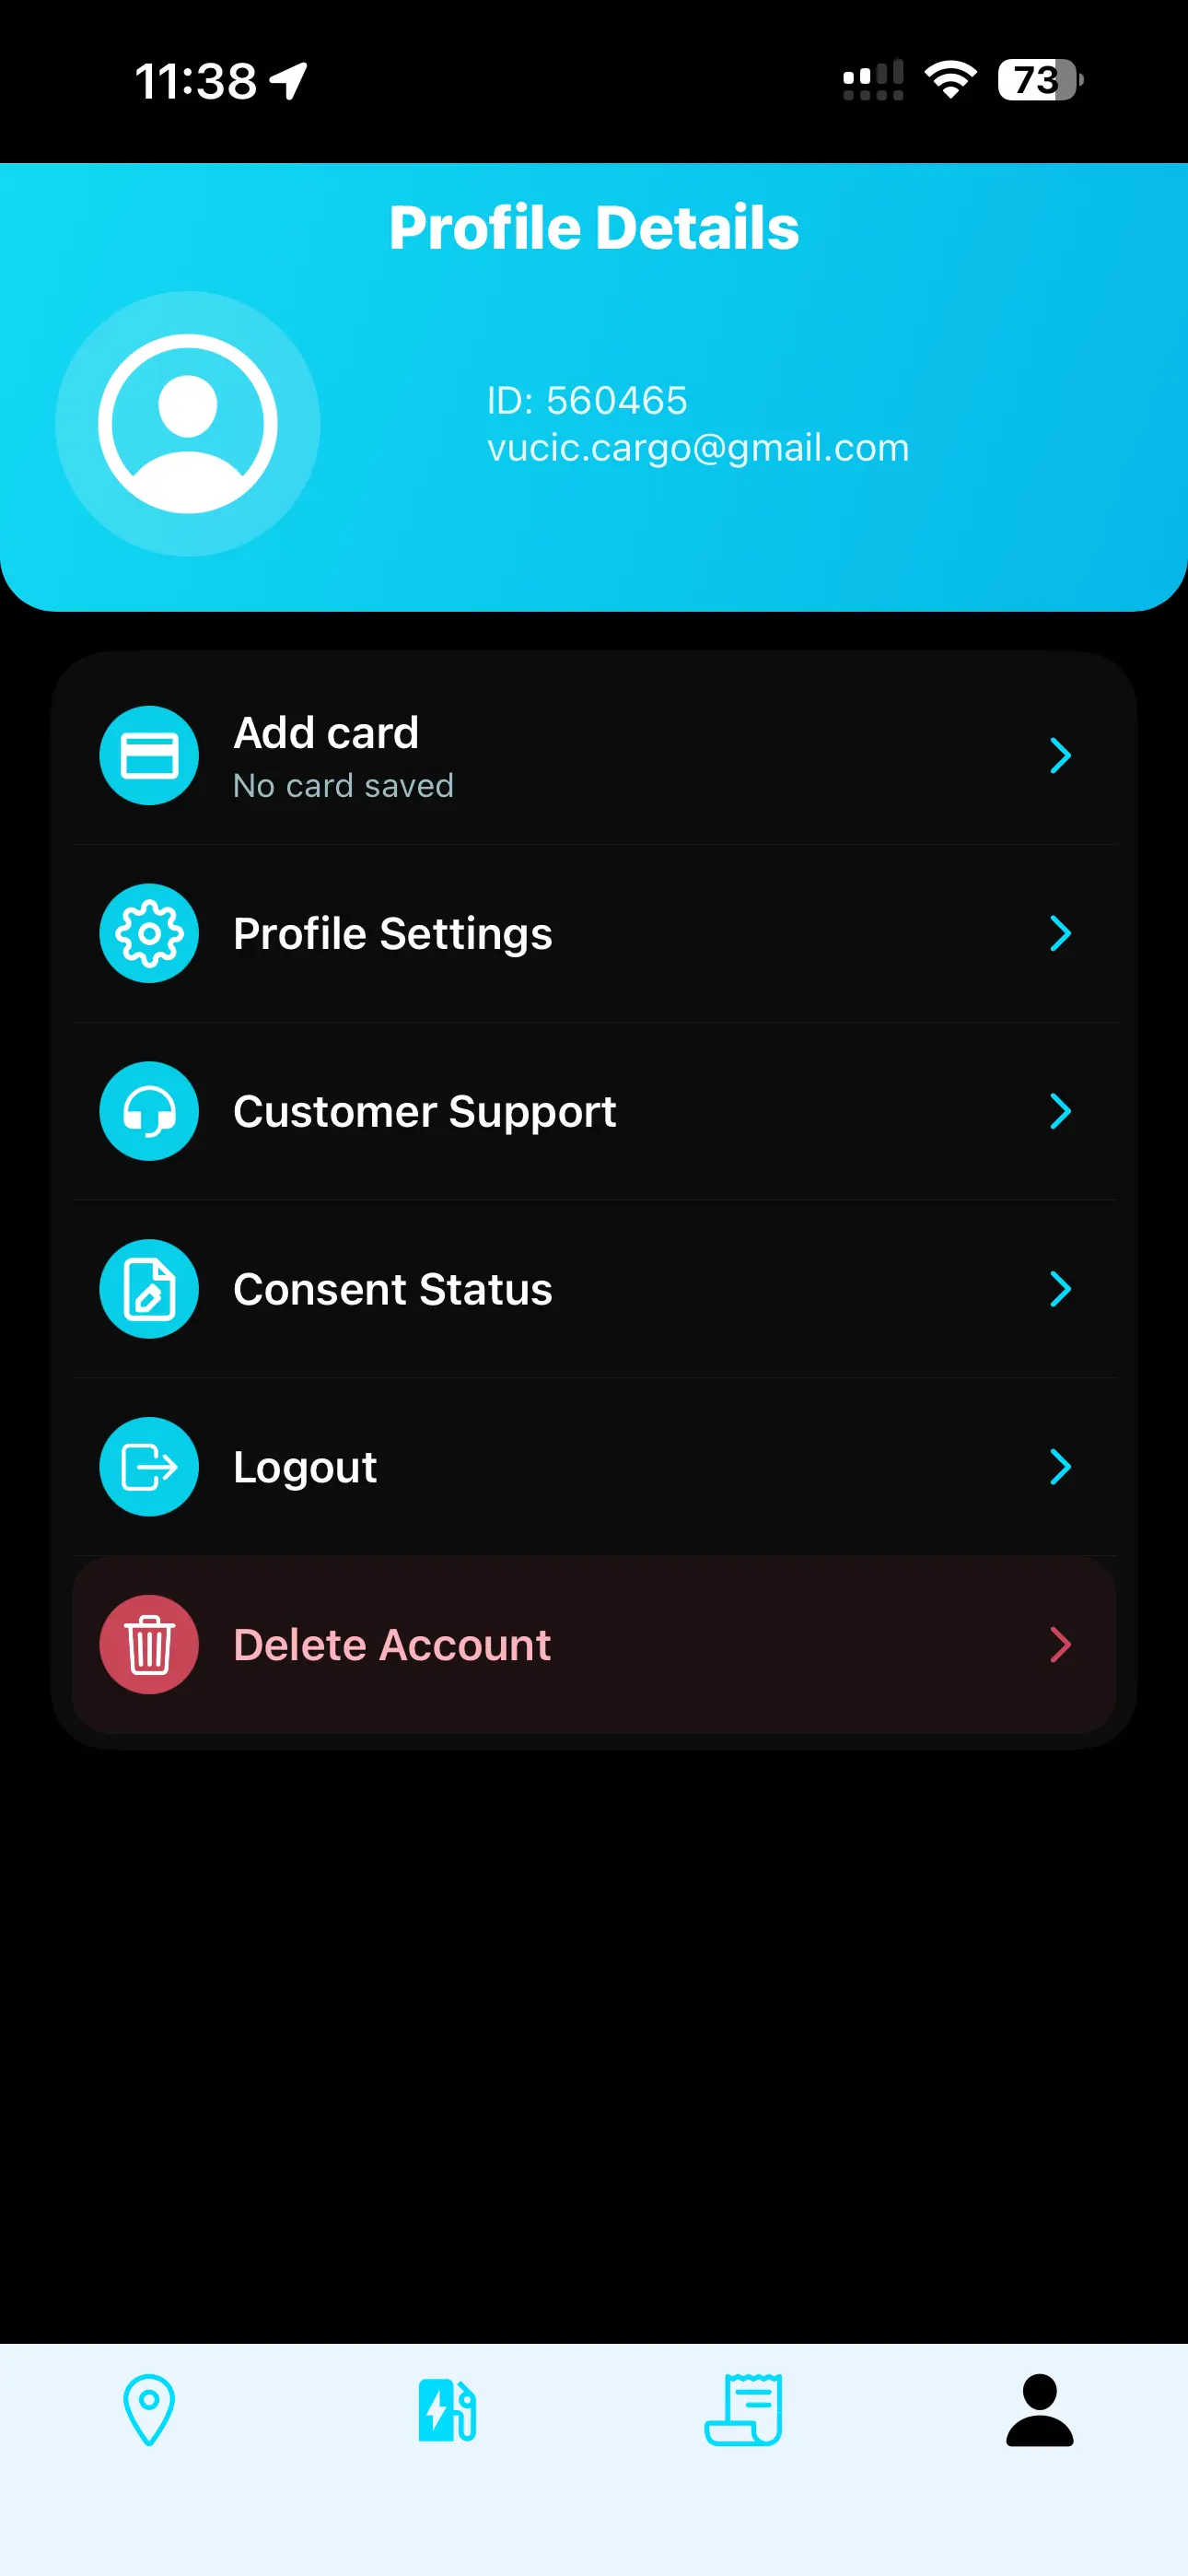
Step 1 — Create your account
Fill the form and request a verification code. Enter the PIN you receive via email to complete registration. You will be automatically logged in.
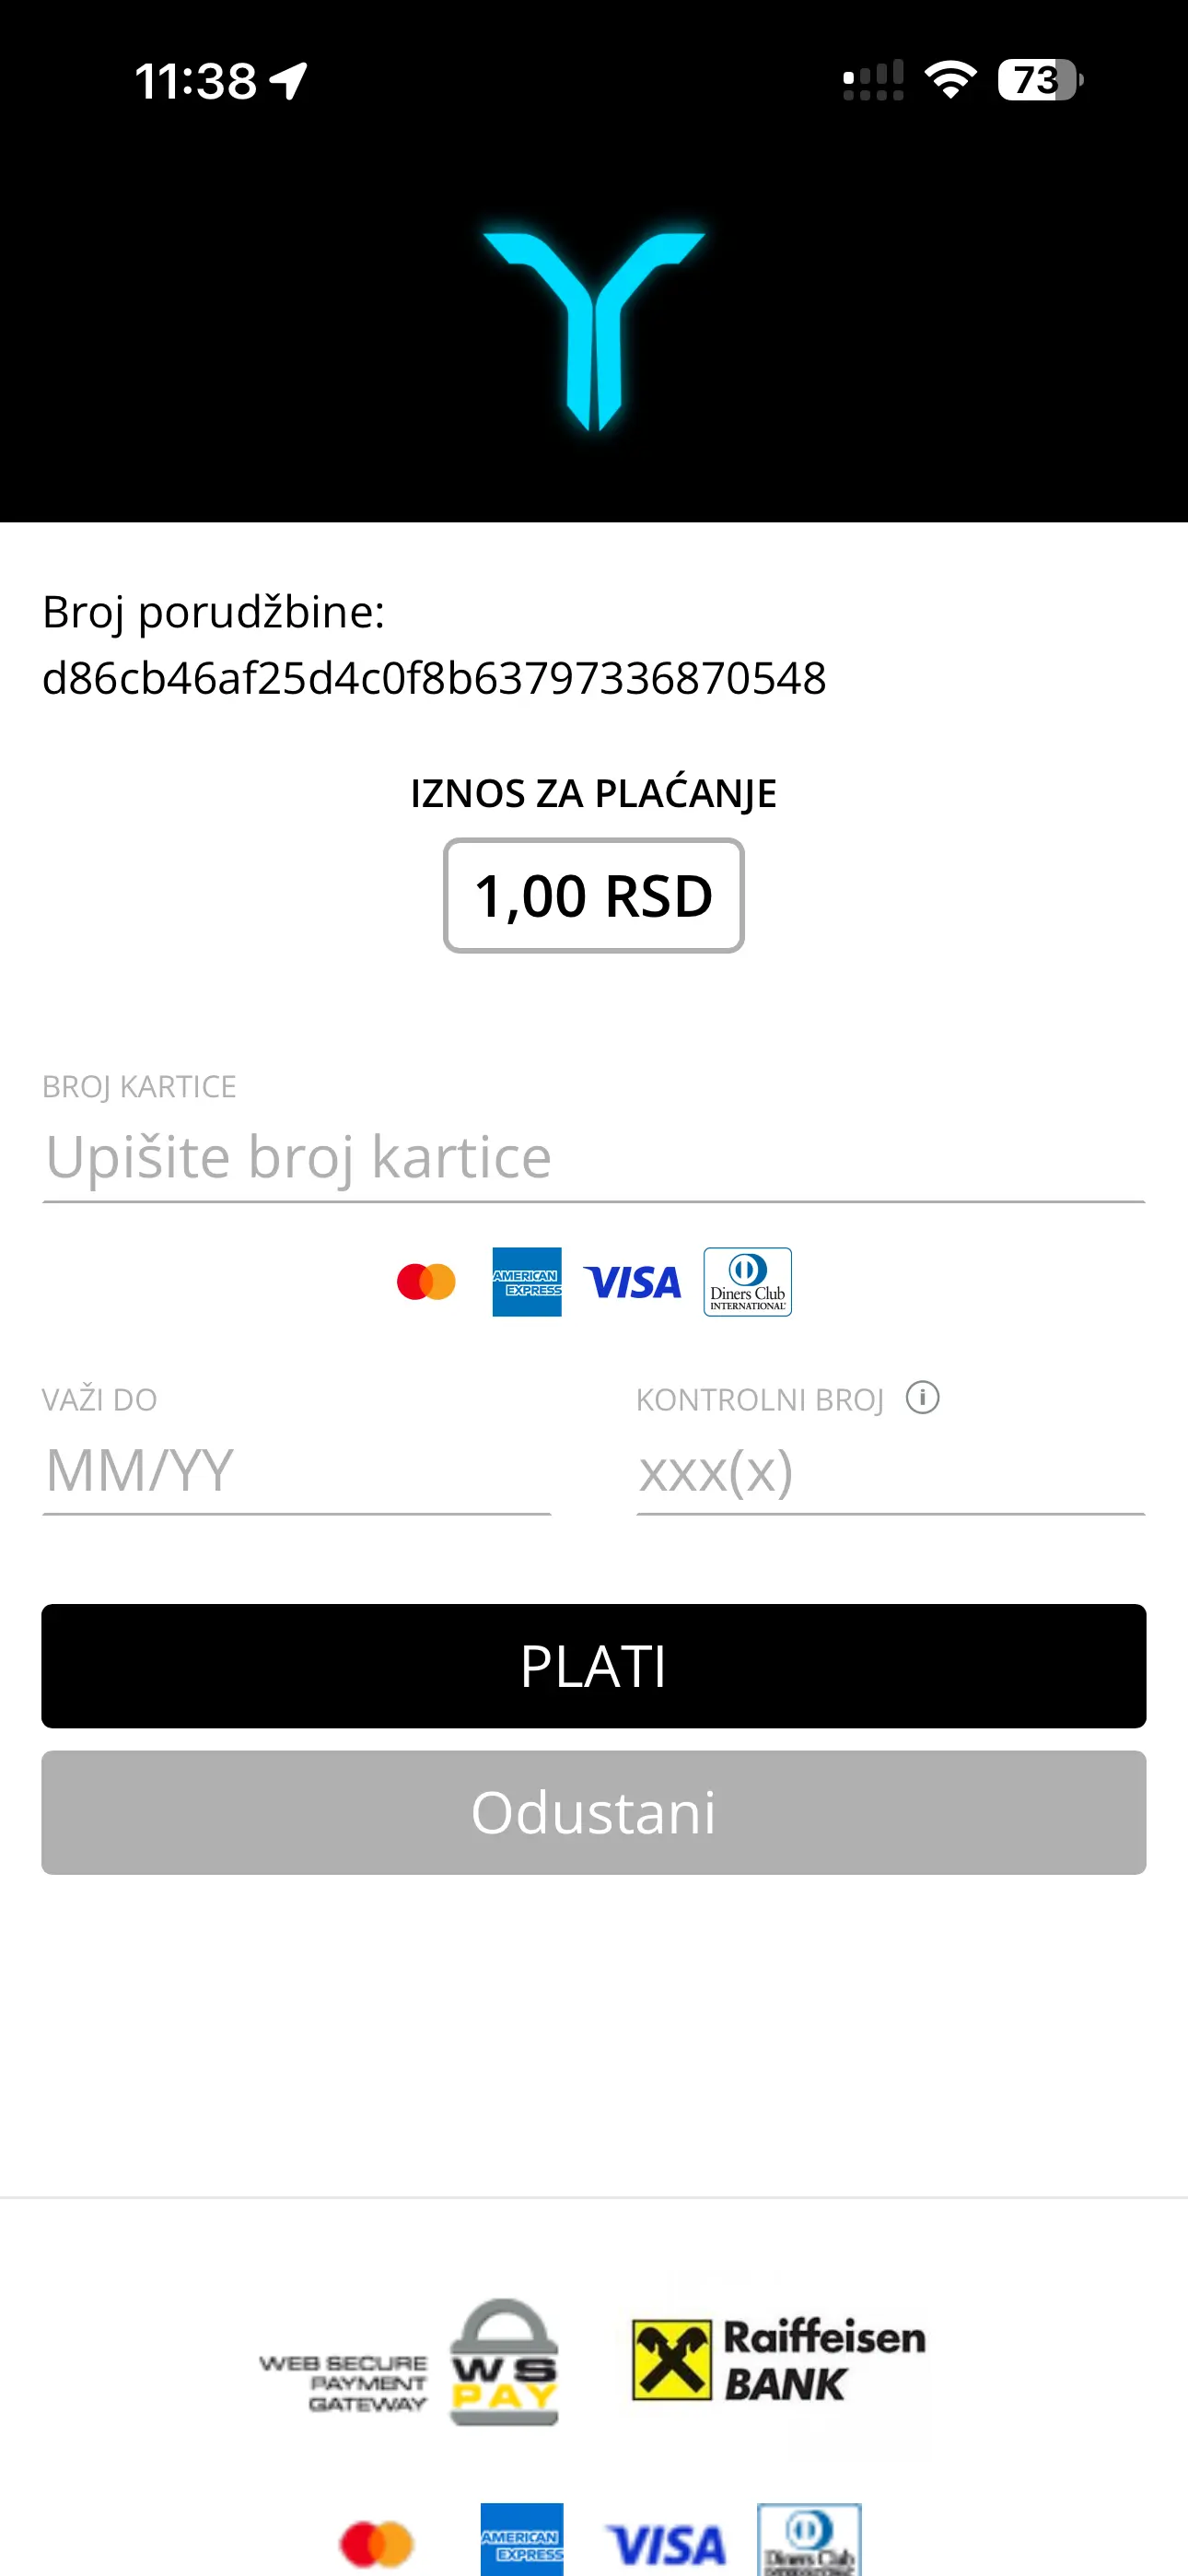
Step 2 — Add your payment card
A temporary charge of 10 RSD is used to verify your card and is immediately refunded. Before each charging session, 3.000 RSD is reserved. After charging, only the actual cost is charged, a fiscal receipt is issued, and the remaining amount is refunded.
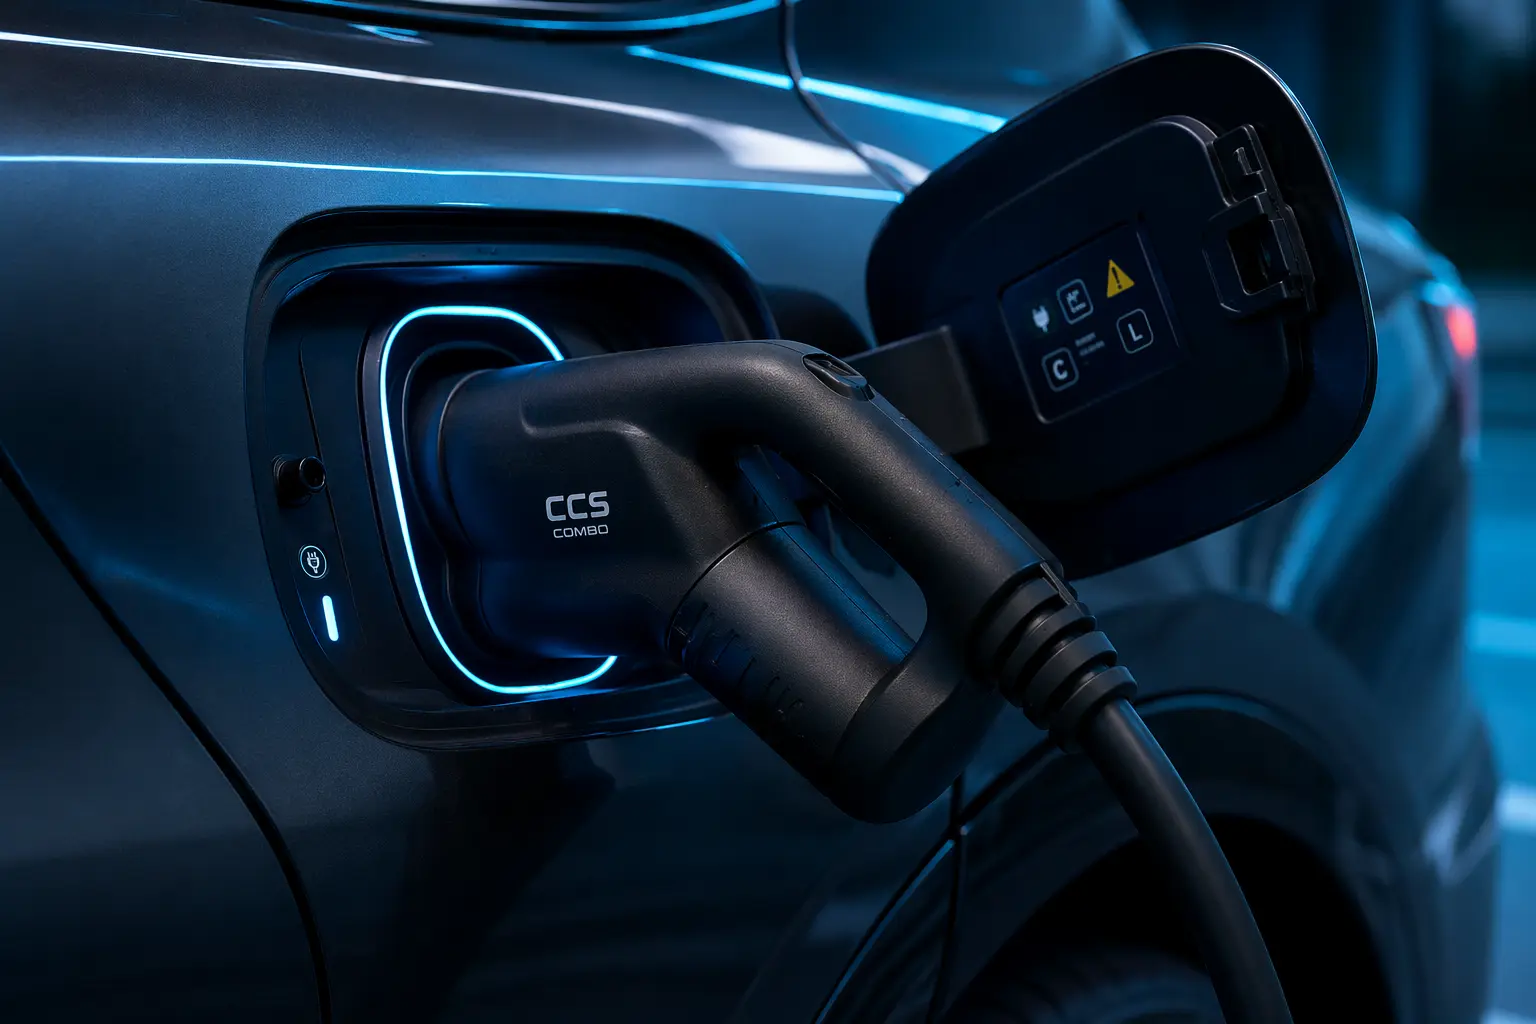
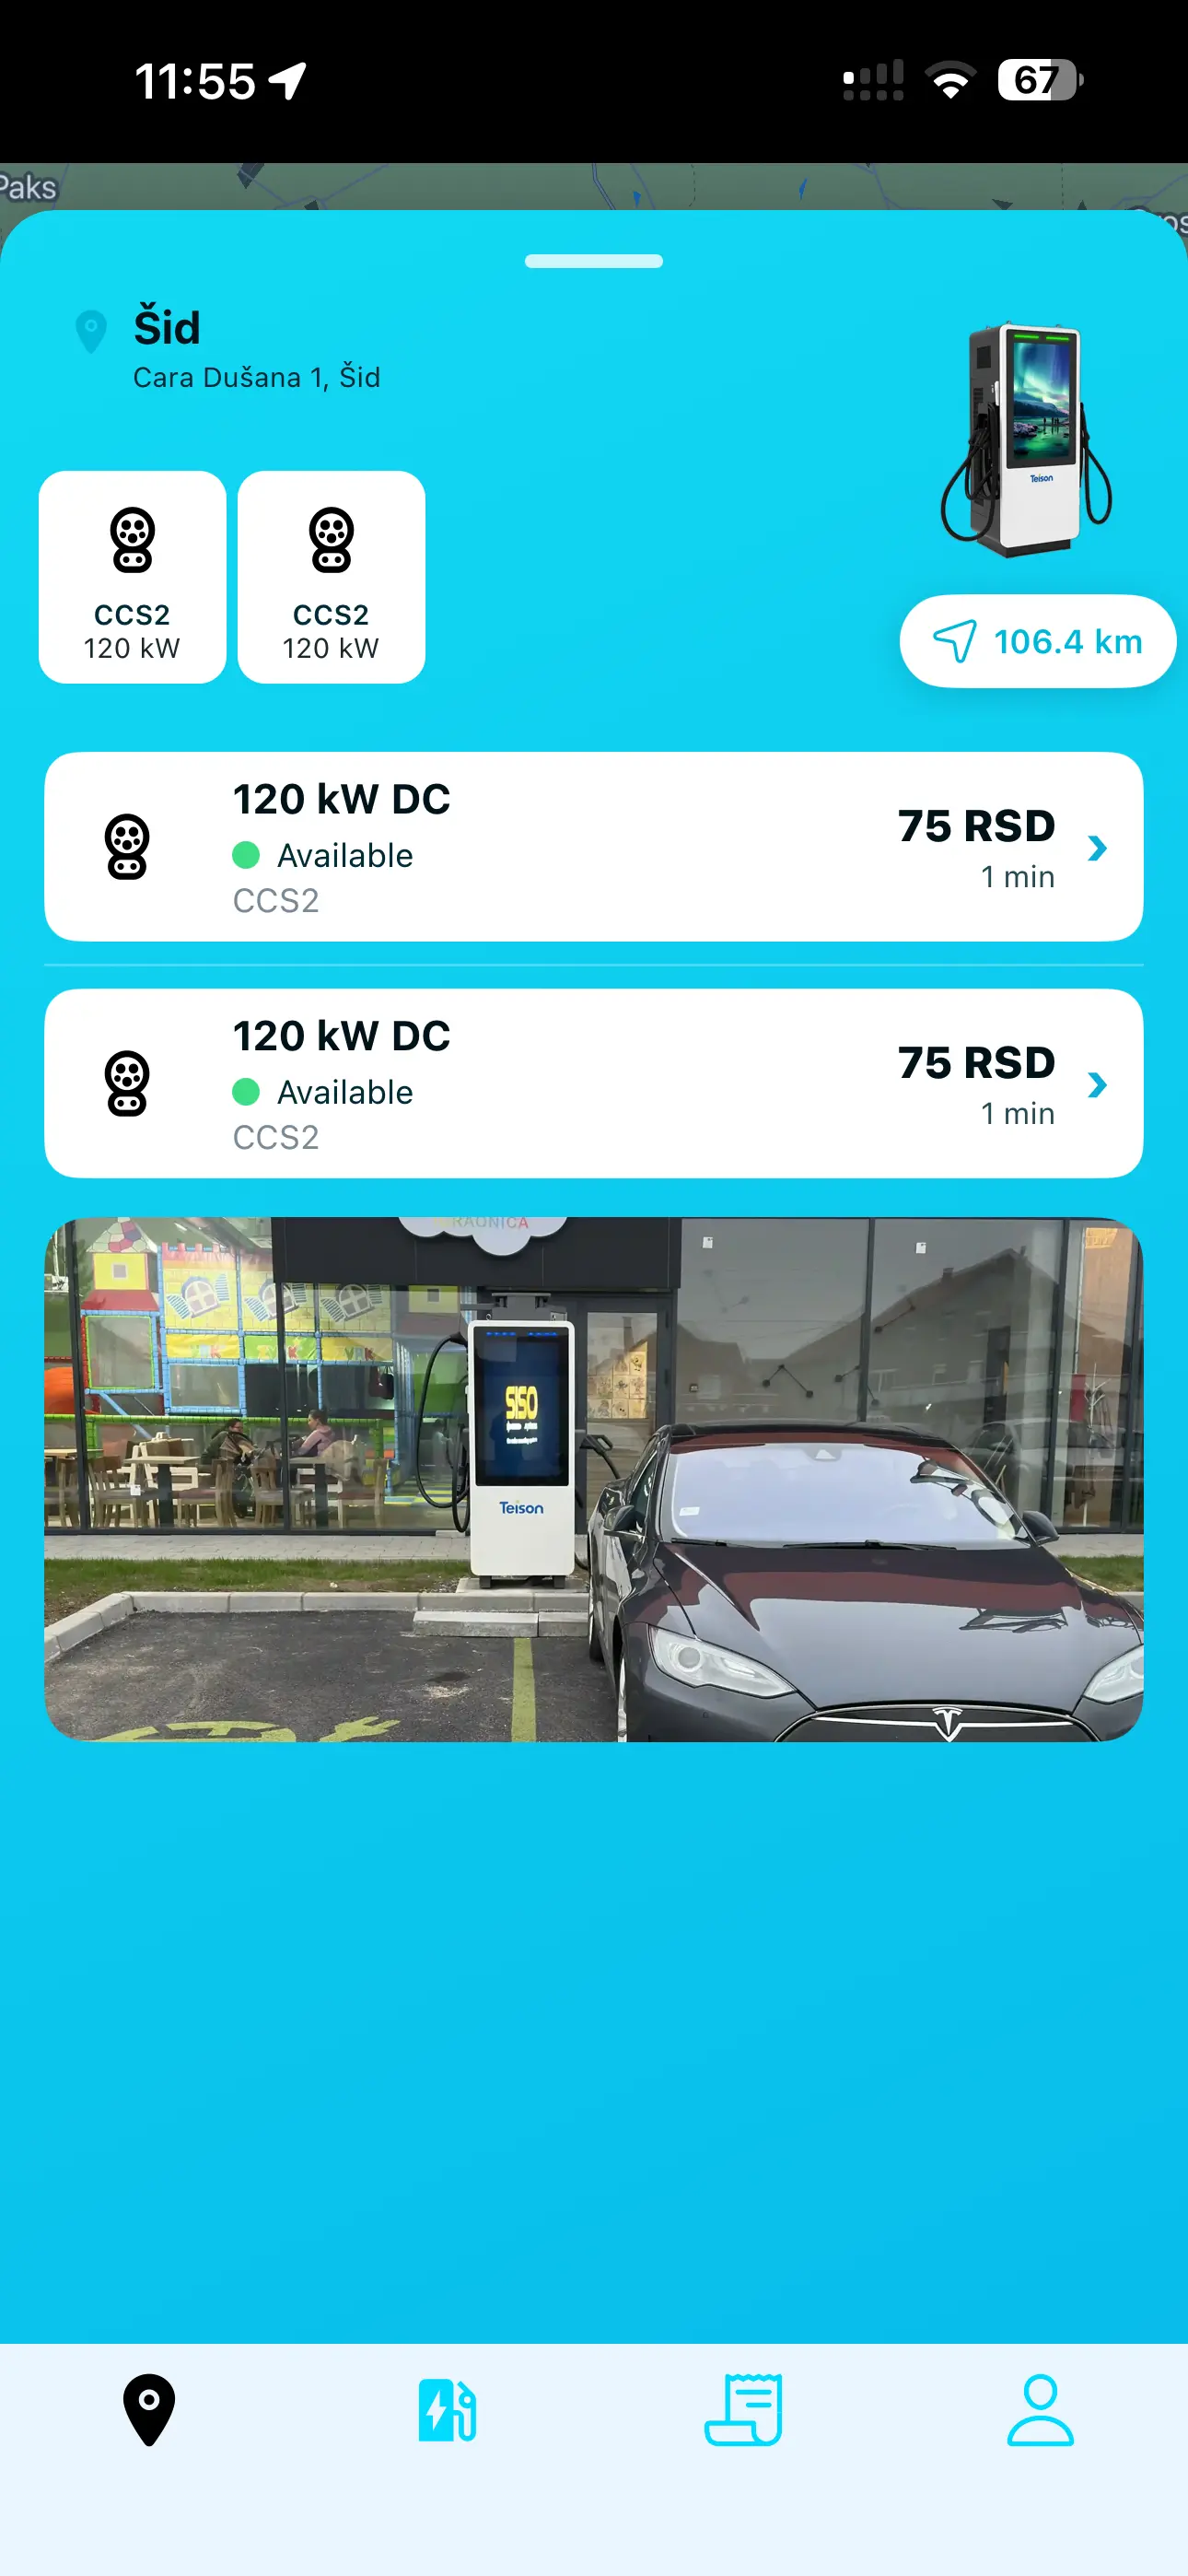
Step 3 — Connect your vehicle
Plug your vehicle into the charger using the appropriate connector.
Swipe left or right to view all screens
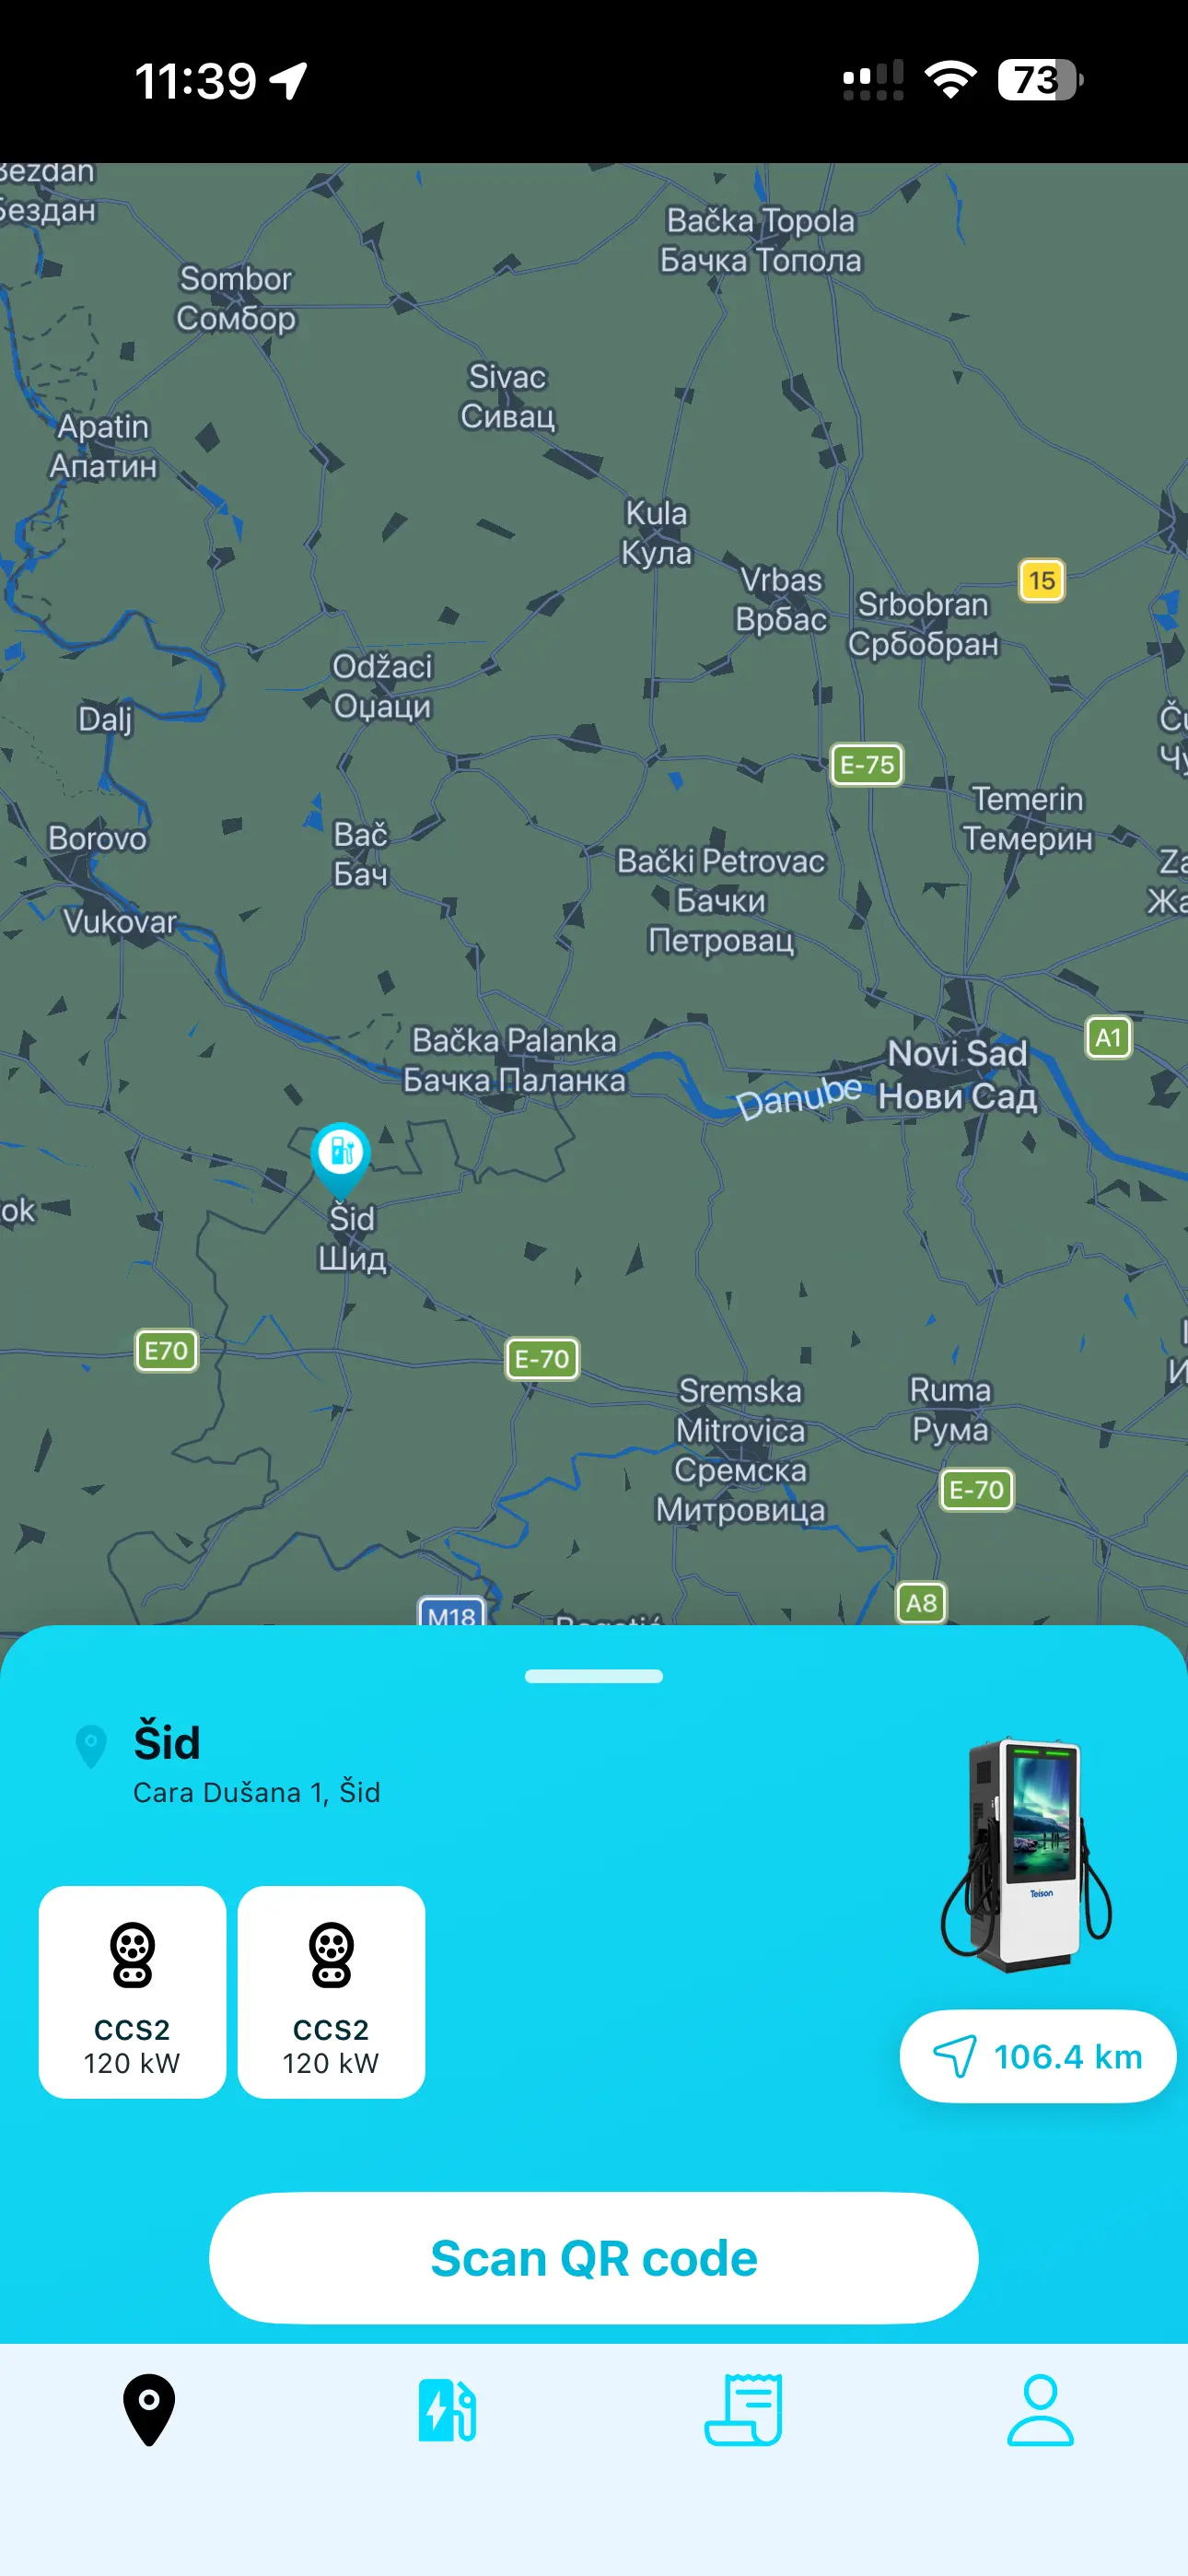
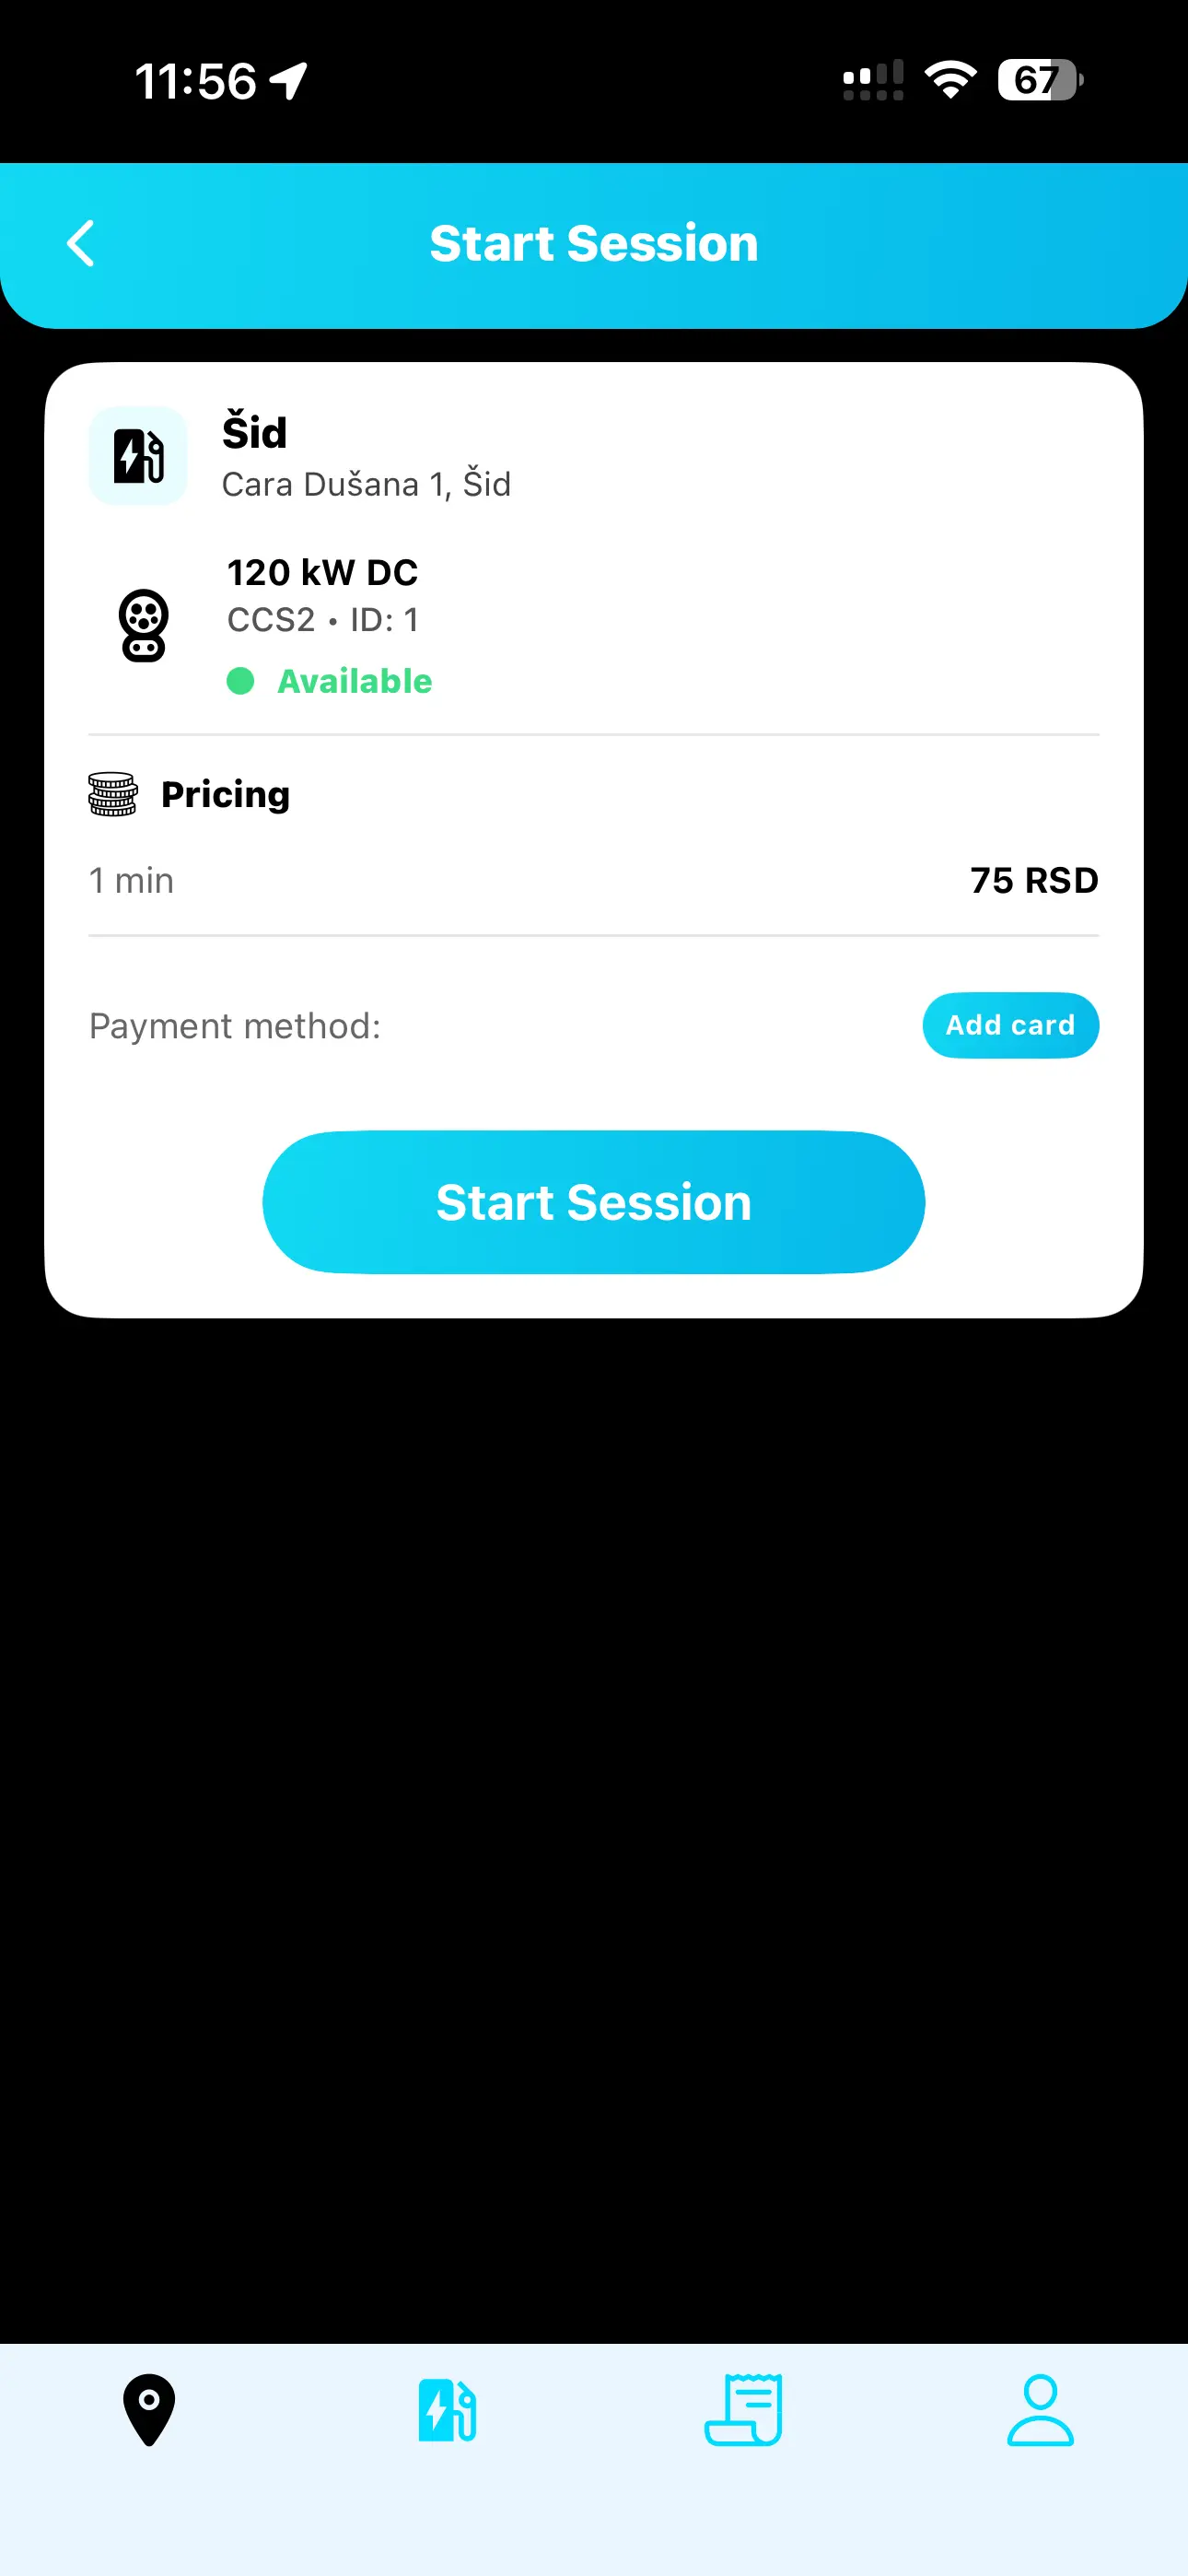
Step 4 — Start charging
You can start charging in two ways: by scanning the QR code on the charger connector, or by selecting the charger ID in the app and pressing Start Session.
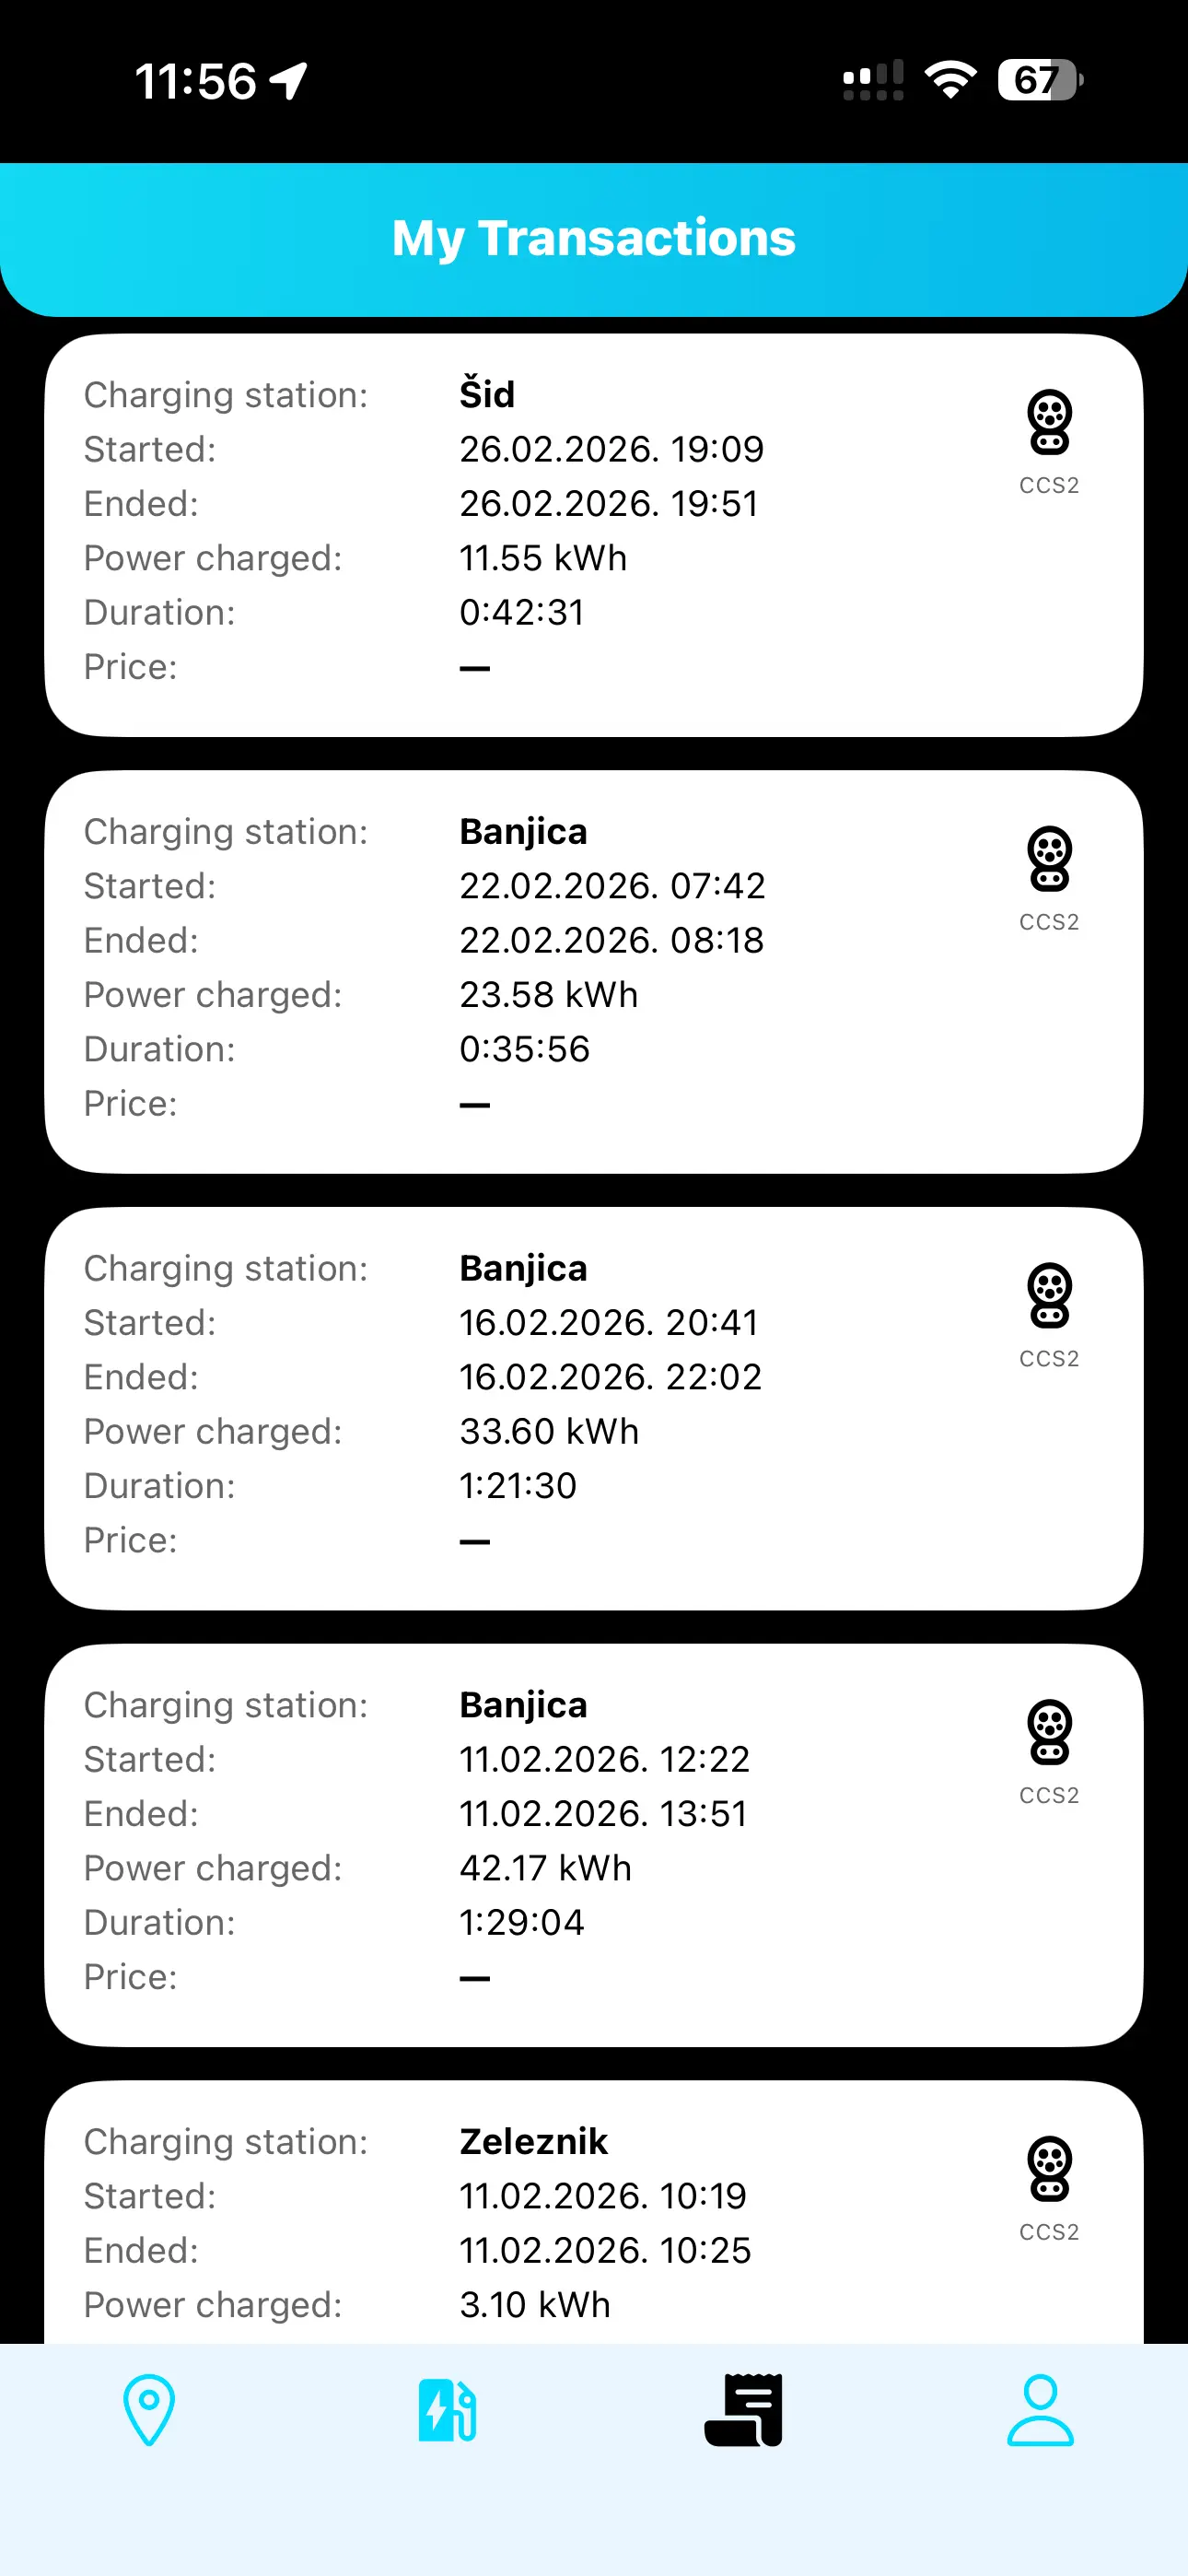
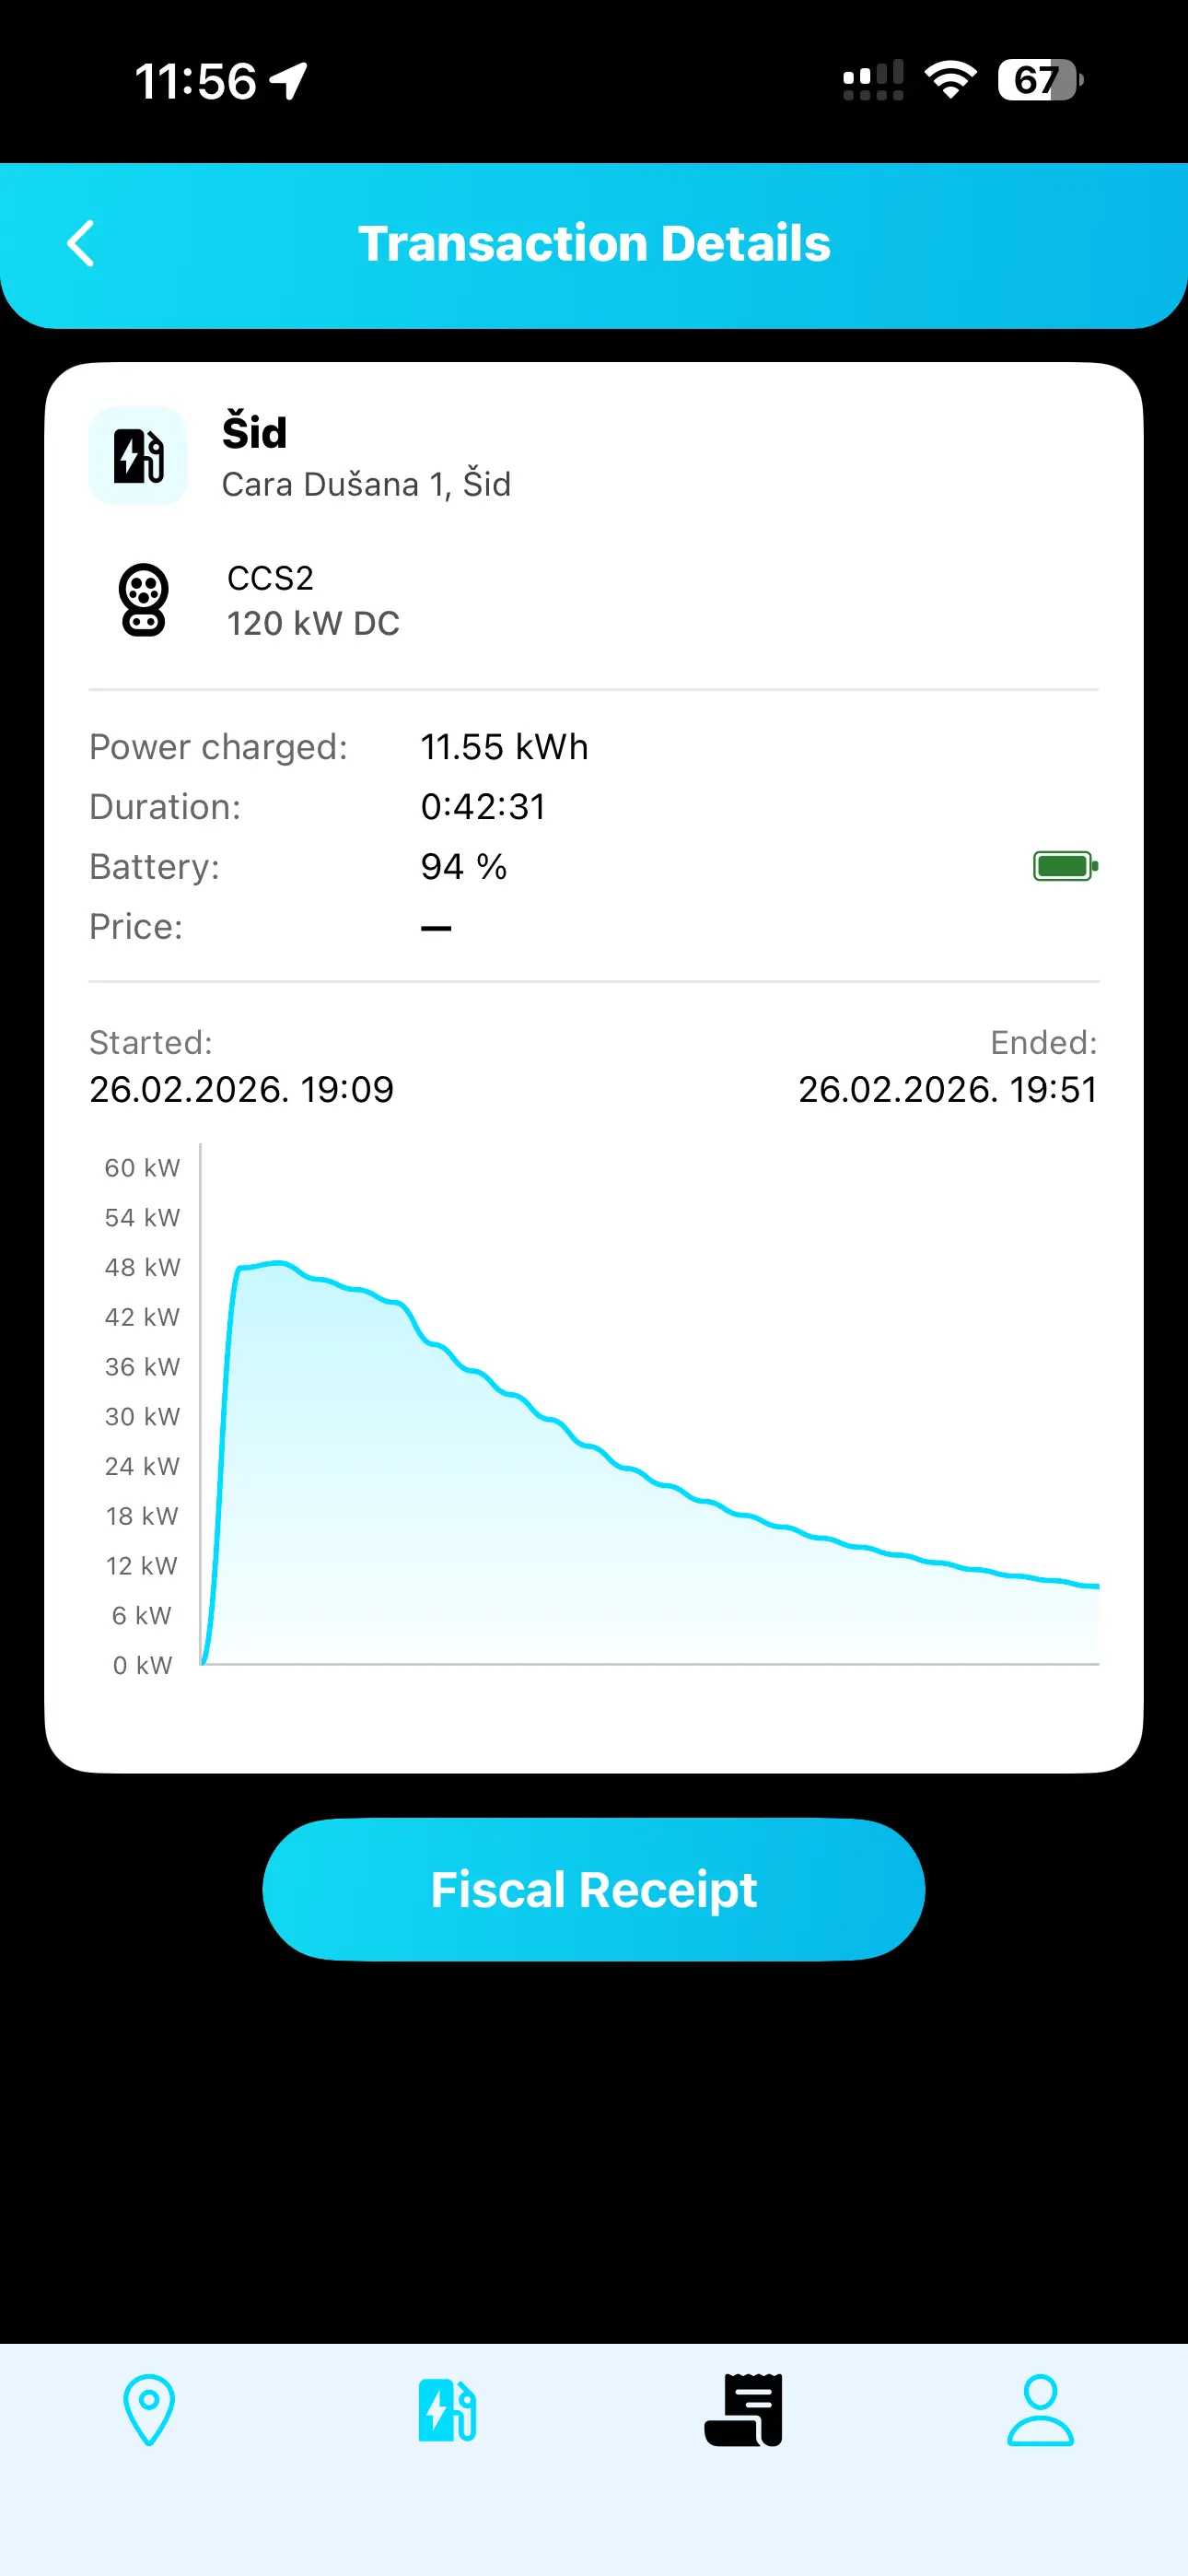
Step 5 — Monitor and stop charging
Track charging progress in real time, including session status, charging power, charging duration, delivered energy and battery level. You can stop the session at any time, after which your fiscal receipt becomes available in the app and is also sent to your email.